Most black hole pictures are artists’ impressions: drawn by hand or with animation software to show roughly what one might look like. This one is calculated. Each pixel is a ray of light traced through the equations of general relativity, live in your browser.
What you’re looking at
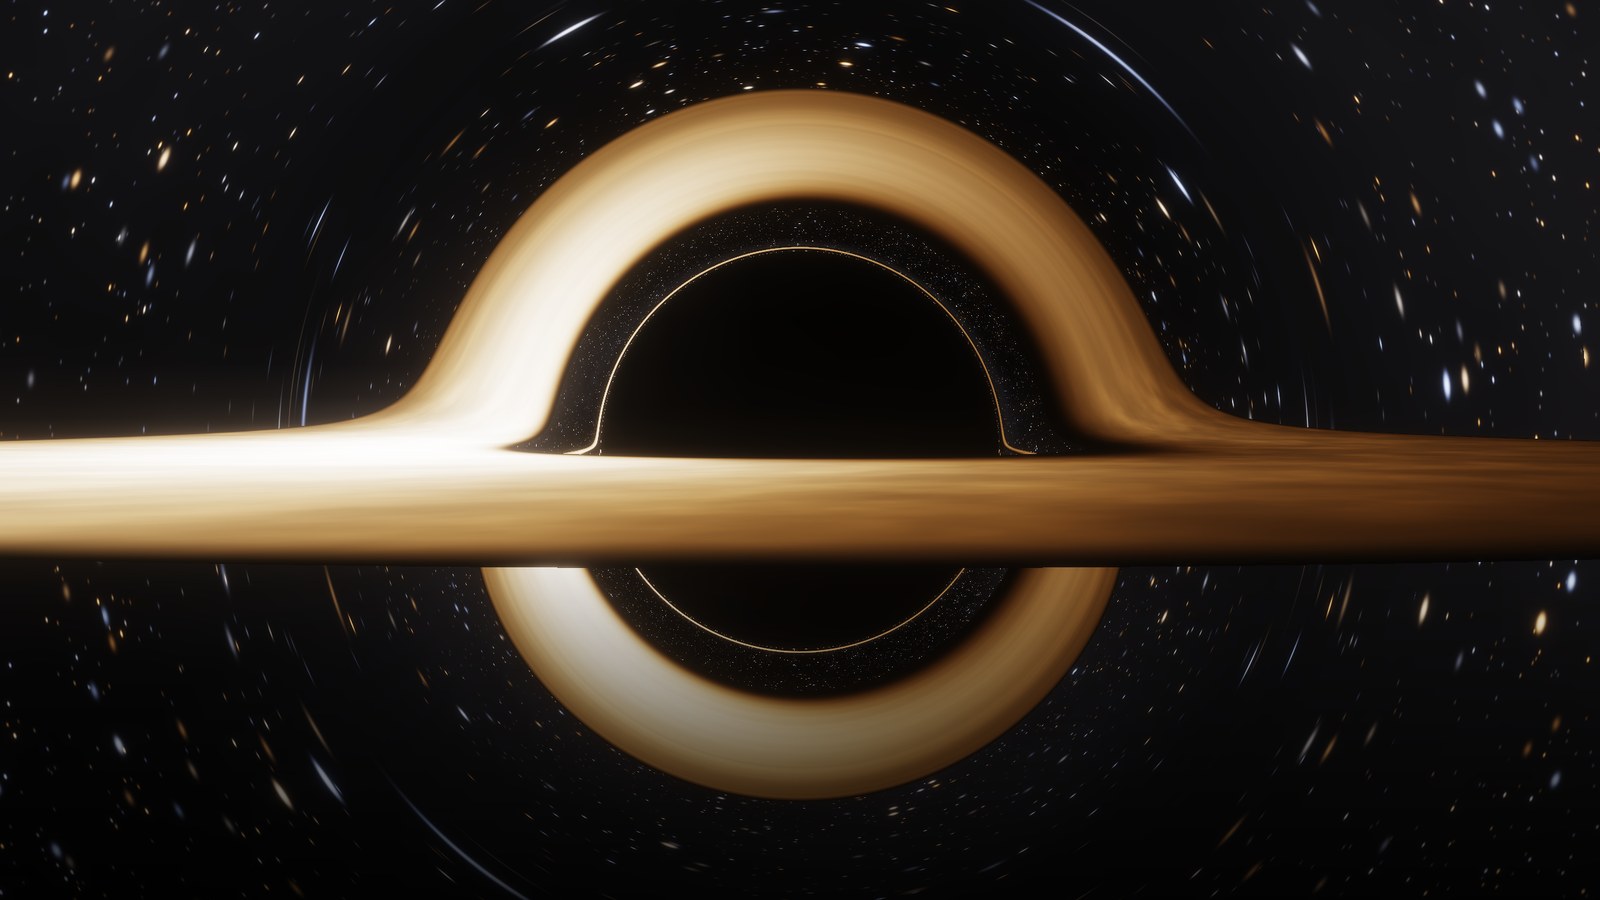
A black hole with an accretion disk: a flat disk of hot gas orbiting it. The disk really is flat. What makes the picture look strange is gravity bending the light on its way to the camera:
- The arc over the top is the far half of the disk. It sits behind the black hole, but gravity bends its light up and over, so it is still visible. The arc below the center is the same far half, seen by light bent underneath.
- The dark center is about 2.6 times wider than the black hole’s event horizon. Light that passes closer than that falls in, so no light reaches the camera from that region.
- The thin bright ring just outside the dark center is light that circled the black hole once or more before reaching the camera.
- One side is brighter because the gas on that side moves toward the camera at about half the speed of light. Light from a source moving toward you is brighter and bluer; light from a source moving away is fainter and redder.
Animation vs. simulation
An animation is drawn to look a certain way. A simulation calculates what the image should be from a set of physical rules.
Here, for each of roughly a million pixels, the graphics card sends a ray of light backward from the camera and follows it in a few hundred small steps through the curved space around the black hole. The ray either falls into the black hole, continues out to the background stars, or hits the disk. If it hits the disk, the temperature and speed of the gas at that point, plus how much gravity shifts the light on its way out, set the pixel’s color and brightness. There is no setting that adjusts the shape of the arc or the brightness of one side directly. Those come out of the calculation.
The film Interstellar calculated the light bending the same way, then deliberately left out the uneven brightness and color shifts to keep the image simple. This version includes them, which is why one side is brighter.
Comparing against known results
- Known values. General relativity predicts how close light can pass before it falls in. The ray tracer matches that value to seven digits.
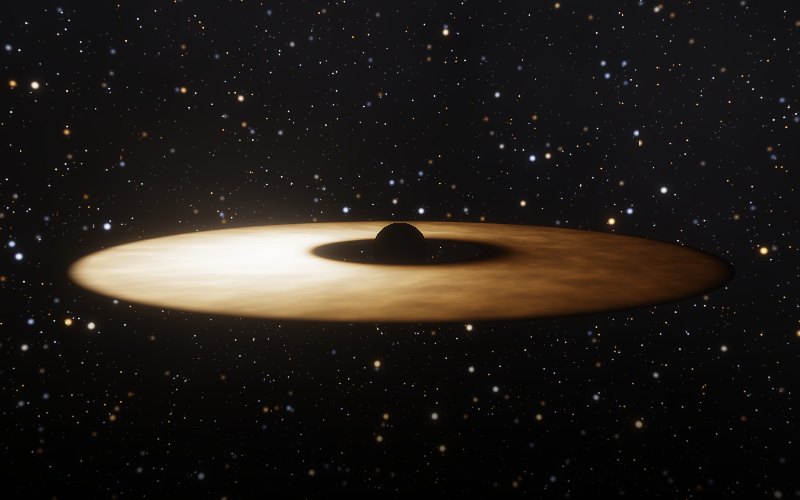
- Effects can be switched off. Turn off light bending and the disk looks like a plain flat ring. Turn off the frequency shifts and both sides are equally bright. Each feature of the image can be traced to one physical effect.
- Telescope comparison. Blurred to the resolution of the Event Horizon Telescope and viewed from the angle we see M87’s black hole, the image becomes a blurry ring similar to the 2019 photo.
- Stated limits. The page lists what the model leaves out, including spin, the real temperature of the gas, and thick, turbulent gas flows, and cites the papers the equations come from.
Where to view it
The simulator runs on your device’s graphics card, so it looks and runs best on a laptop or desktop. On phones and other small devices it switches to a lower resolution and fewer steps per ray, and can look coarser. The still images on the page and in this article are full-quality renders of what it produces.
Built with Claude Opus 5.5
The physics is standard general relativity. Most of the work was making it fast enough to run in real time on a laptop’s graphics card. I built it with Claude Opus 5.5: the derivations, the GPU ray tracer, a separate double-precision test program to check it against, and the write-up.
The images are free to use, for teaching or anything else, with credit. Try it here. Curious which angle people end up leaving it on.